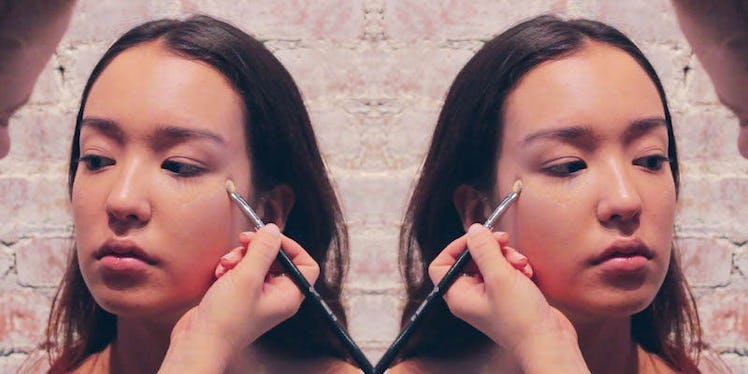
Strobing Is The New Contouring: How To Do It Like A Professional
What ever happened to the idea of looking naturally beautiful? We've reached a point in our primping routines in which we strive to transform our faces into an Instagram filtered image. We can thank Kim K for teaching us the ways of contouring, but lately that look just seems too much.
For the girls who want to enhance their features while staying naturally themselves, strobing is key.
Strobing is a new technique that highlights areas of your face to achieve maximum illumination where the light catches the skin. With help from makeup professional Beauty Girl Susie, we've put together a strobing tutorial to achieve your most natural illuminated look.
You will need:
1. Lightweight foundation
2. CC cream / Illuminating cream
3. Illuminating powder
4. Lip/Blush stain
5. Makeup sponge
6. Dual fiber brush
Step One: Lay It Down
Apply lightweight foundation covering prime areas.
Step Two: Spread 'Em
Use a dual fiber foundation brush to evenly spread your foundation. If you don't have a brush, you can use your fingers to spread evenly.
Step Three: Soak It Up
Use a sponge and lightly dab the excess foundation from your face.
Step Four: Eye Spy
Apply CC cream under eyes as well as across the eyelid.
Step Five: The Line Up
Line the illuminating cream from your cheekbone to the center of your iris.
Step Six: High Brow
Apply illuminating cream to the inner eye and above and below the brow.
Step Seven: Put It In The Blender
Lightly blend in the highlighted areas, be sure not to swipe away what you've put on. If you don't have a sponge, use your finger and lightly dab the illuminator.
Step Eight: Read It And Sweep
Add a light sweep of illuminating powder along the cheek bones and T-zone.
Step Nine: Add Some Color
Apply a light blush or stain to cheeks.
Step Ten: Floss Your Gloss
Use a glossy tint to keep it simple.
Step Eleven: The Final Touches
Add a final dash of illuminating powder to your cheek bones.
All Done!
Your final look will be naturally illuminating.